Welcome! Below is a simple, step-by-step guide to help you set up your Windows device and sign into your Microsoft account. If you run into any issues along the way, don't worry! We've included troubleshooting steps to help you get back on track.
Table of Contents
- How to sign into my Microsoft Account – Setup
- Microsoft Account Sign-in Issues
- Windows is only letting me sign into a work or school account
- Stuck on PIN Sign-in Screen
How to sign into my Microsoft Account – Setup
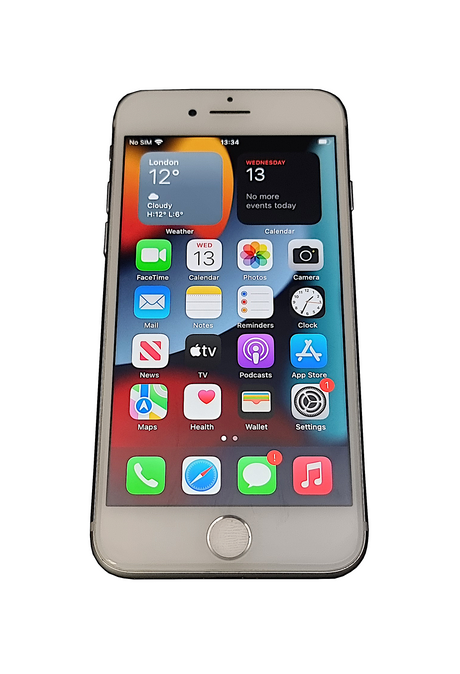
Windows 11 Operating System
Setting up your Microsoft account during the initial setup process (known as the Out-of-Box Experience or OOBE) is simple! Here’s a step-by-step guide to walk you through it:
- Power on your device – Once you’ve turned on your Windows device for the first time, you’ll be guided through the OOBE setup.
-
Choose your language and region – Select your preferred language, time zone, and region, then click [Next].

-
Add second keyboard layout – If necessary, choose a second keyboard layout. Otherwise, click [Skip] to proceed..

-
Connect to Wi-Fi – Ensure you’re connected to the internet. If you’re near a Wi-Fi network, choose it from the list and enter the password if required. Click [Next] to proceed.

-
Licence Agreement – Read through the Software License Agreement, and click [Accept] to proceed.

-
Naming your Device – If you want to name your device, enter a unique name. Click [Next] or [Skip for now] for a randomised name.
Note: If you named your device, it will restart.
-
Choose account type – You’ll be asked to sign into either a personal Microsoft account or a work/school account. Select [Set up for personal use] if this is for personal use. For work or school, select [Set up for work or school]. Click [Next] to proceed.
Missing Personal Use Option: If you don’t see the option for personal use and the device is requiring you to sign into a work or school account, please proceed to this step to reset this: Windows is only letting me sign into a work or school account
-
Microsoft Experience – To set up your Windows device, click [Sign in] to use your Microsoft account.

-
Adding your Microsoft Account – Type your Microsoft email address into the sign-in box and click [Next].
Note: If you have difficulty signing in, refer to the Microsoft Account Sign-in Issues section.
-
Entering your password – Input the password associated with your Microsoft account and click [Next].
Note: If you have difficulty signing in, refer to the Microsoft Account Sign-in Issues section.
- Follow the remaining on-screen steps – If the sign-in is successful, the system will guide you through the rest of the setup, including creating a PIN for faster access.
Microsoft Account Sign-in Issues
If you’re having trouble signing into your Microsoft account, don't panic! Below are some common issues and how to solve them:
-
Incorrect Email Address - Ensure that you are entering the correct email address, as it’s easy to make a mistake without realizing it.
If the email address is accurate but still not working, it may not be associated with a Microsoft Account. In that case, you will need to create a Microsoft Account.
-
Incorrect Password - If you’ve entered your password but it’s not working, it indicates that you have a Microsoft Account. However, you may need to reset your password if you’re unable to sign in. Reset Password.

- Account is locked - Microsoft may lock your account if it notices unusual activity. You can unlock it by following the instructions in the email Microsoft sends you or by going to the Microsoft account recovery page. Account Recovery
If these steps don’t solve your issue, you can contact Microsoft Support or visit their official Account Recovery Page for more help.
Windows is only letting me sign into a work or school account
You may encounter an issue where Windows displays 'Let’s set things up for your work or school'. This can happen if the device was previously used by a business or educational institution and was locked to that account.
When we refurbish devices, we request that the previous owner unlocks them. While this process usually completes within 24 hours, it’s possible that due to our quick shipping, you’ve received the device before the unlocking is fully completed. We apologise for any inconvenience caused.
To resolve this, please follow the steps below to reset the system and remove the work or school account restriction.

-
Step 1 - Press [CTRL] + [SHIFT] + [F3], the machine should reboot automatically into the System Audit Mode.
Note: If nothing happens, try, [CTRL] + [SHIFT] + [FN] + [F3].
-
Step 2 - You will be automatically logged into Windows, and you will see the System Preparation Tool 3.14 application open.

-
Step 3 - Enable the following items on the System Preparation Tool 3.14 screen:
- Ensure that [Enter System Out-of-Box Experience (OOBE)] is selected.
- Click the [Generalize] checkbox.
- Ensure that [Shutdown] is selected.

-
Step 4 - Your device will shut down. Once it has powered off, turn it back on, and you will then have the option to select [Set up for personal use].
Stuck on PIN Sign-in Screen
This is a known bug in Windows that Microsoft has yet to resolve. When you select ‘Create PIN’, a dialog box is supposed to appear — but due to the bug, it often opens behind the main setup screen, making it seem like nothing is happening.
This issue has been reported by many users on both Windows 10 and 11.
Follow the steps below to solve this issue.

-
Step 1: On the screen with the spinning loading wheel.
Press and hold the [SHIFT] (⇧) key. While still holding the Shift key, press the [F10] Key. This will make a black command prompt box appear. Note: If the Black Command Prompt Box doesn't appear, then release all keys and try press and holding [SHIFT] + [FN]. Then with those keys held down, press the [F10] Key.
 -
Step 2. With the Black Command Prompt windows open, press and Hold the [ALT] key, then while holding [ALT], press [TAB] (↹). This should bring up two/three small windows.

-
Step 3: While still holding [ALT], hover your mouse over the 'Windows Security' window, and select it.
Or
While still holding the [ALT] key press the tab button until the 'Windows Security' box is highlighted by a white border.
- Step 4: Release the [ALT] key. This should now show the Windows "Set up a Pin" screen as the topmost display.
- Step 5: Enter your pin and this should continue the setup process.
If these steps don't resolve the issue, please try a reboot. failing that, please contact us and we can give you a method to bypass these steps to create an offline account.
Summary
Should you have any questions regarding this process, please feel free to reach out to us at our online chat tool, or email Sales@BlackmoreIT.com.